Malmö Musikaffär hosts V&R Boutique Guitar Show
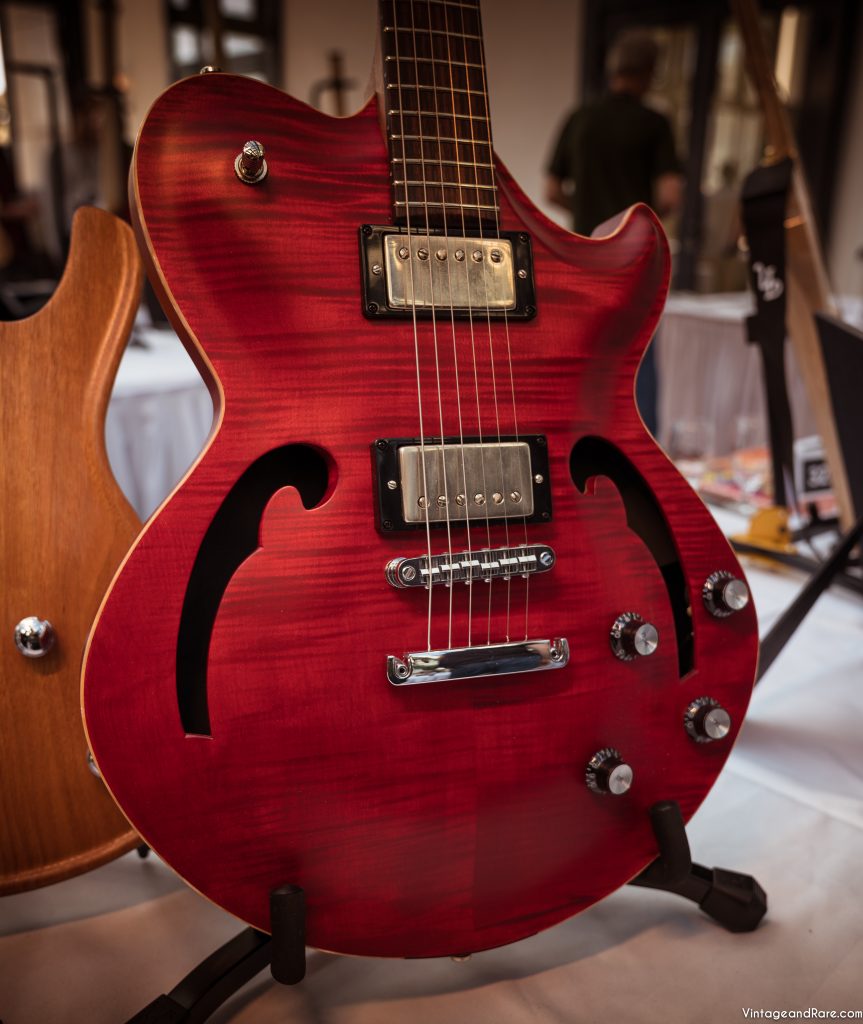
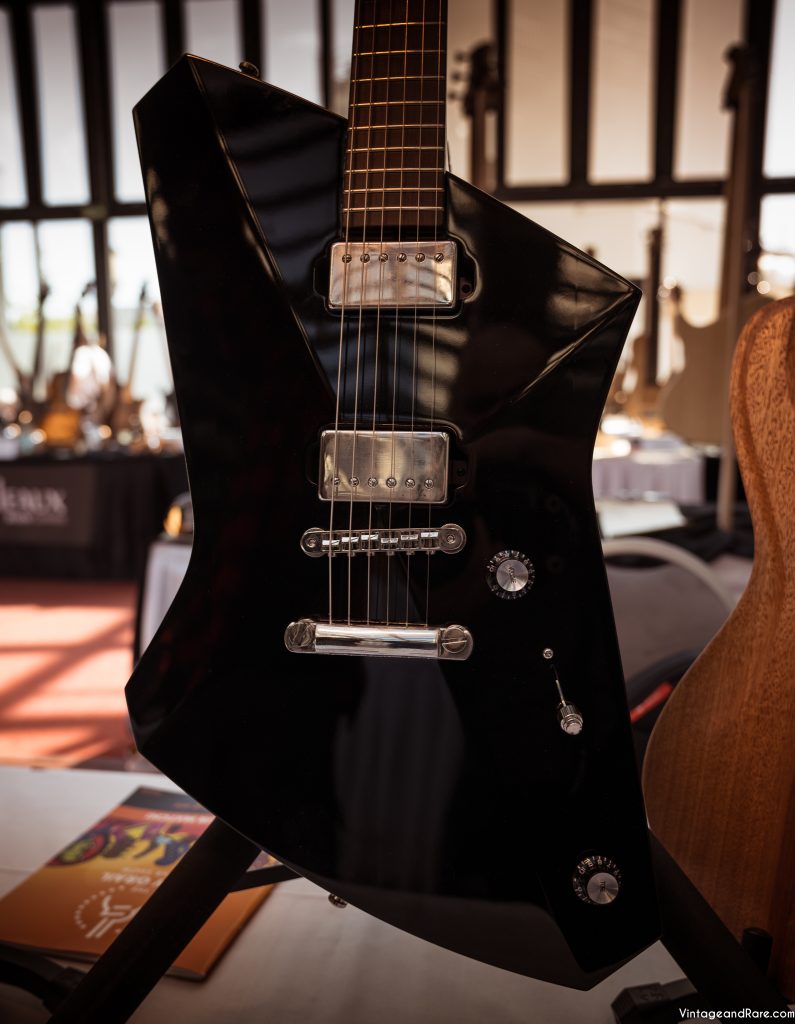
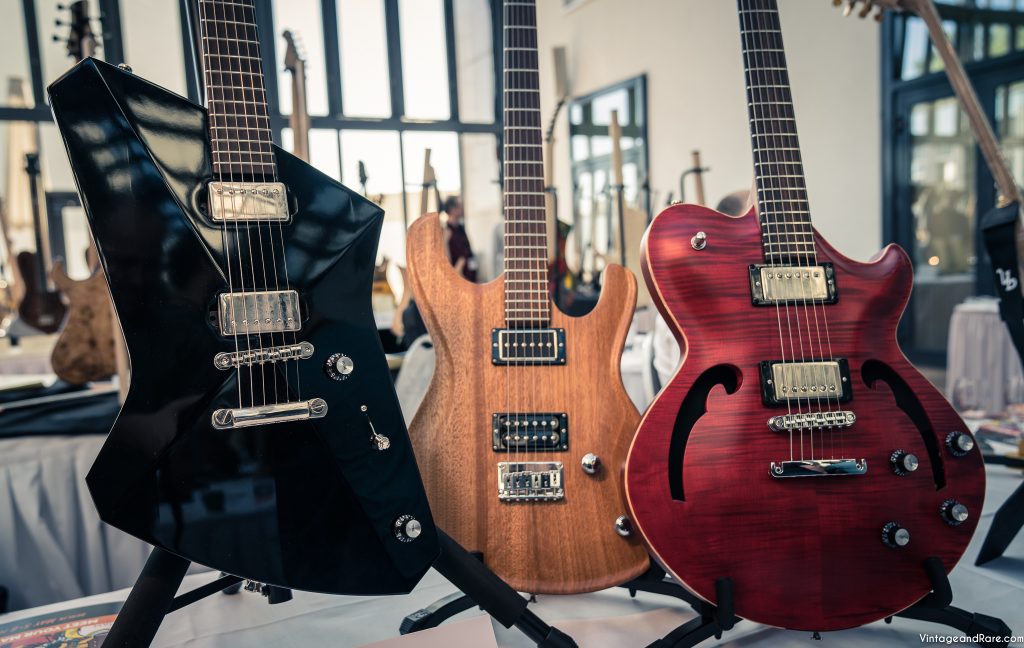
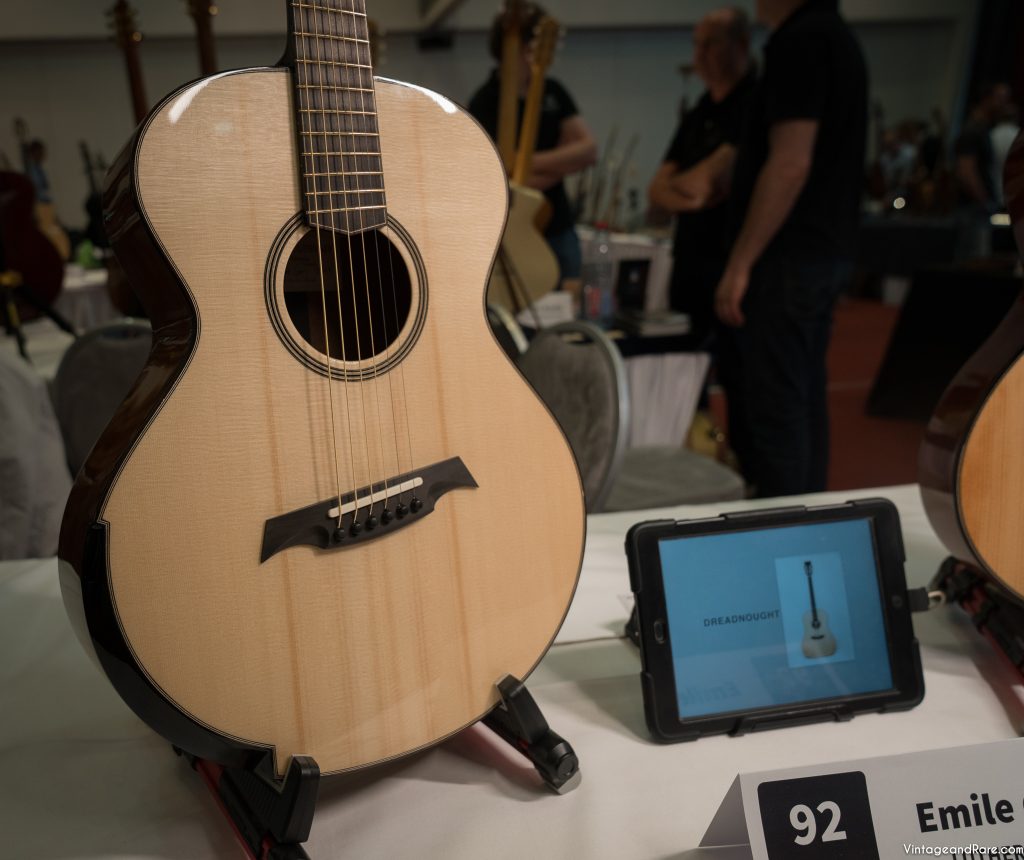
Gallery from V&R Boutique Guitar Show at Malmö Musikaffär in Sweden.
Please feel free to share pics on social media. We would be very happy if you remember to photo credit VintageandRare.com.
Gallery from V&R Boutique Guitar Show at Malmö Musikaffär in Sweden.
Please feel free to share pics on social media. We would be very happy if you remember to photo credit VintageandRare.com.

Read more on Heritage Auctions website here

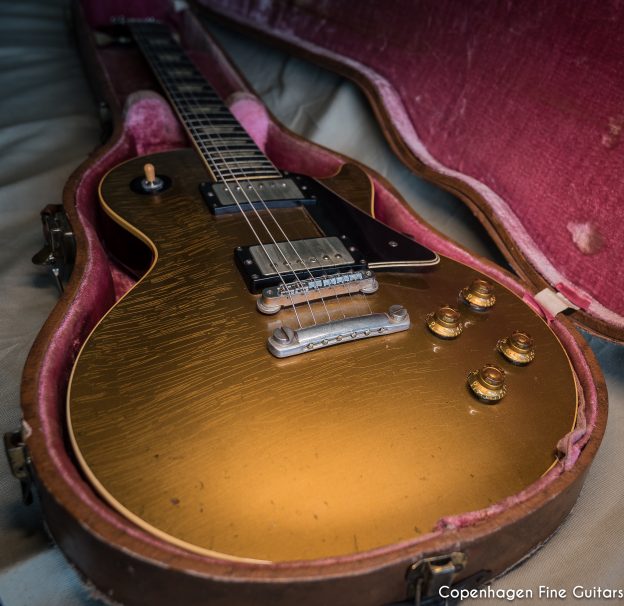
This beautiful 1957 Gibson Les Paul Standard Goldtop is currently listed for sale through V&R seller Copenhagen Fine Guitars . This very rare and collectible LP features a dark back model with black pickguard and pickup mounting rings.
More pics on listing on V&R here
1957 Gibson Les Paul Standard Goldtop

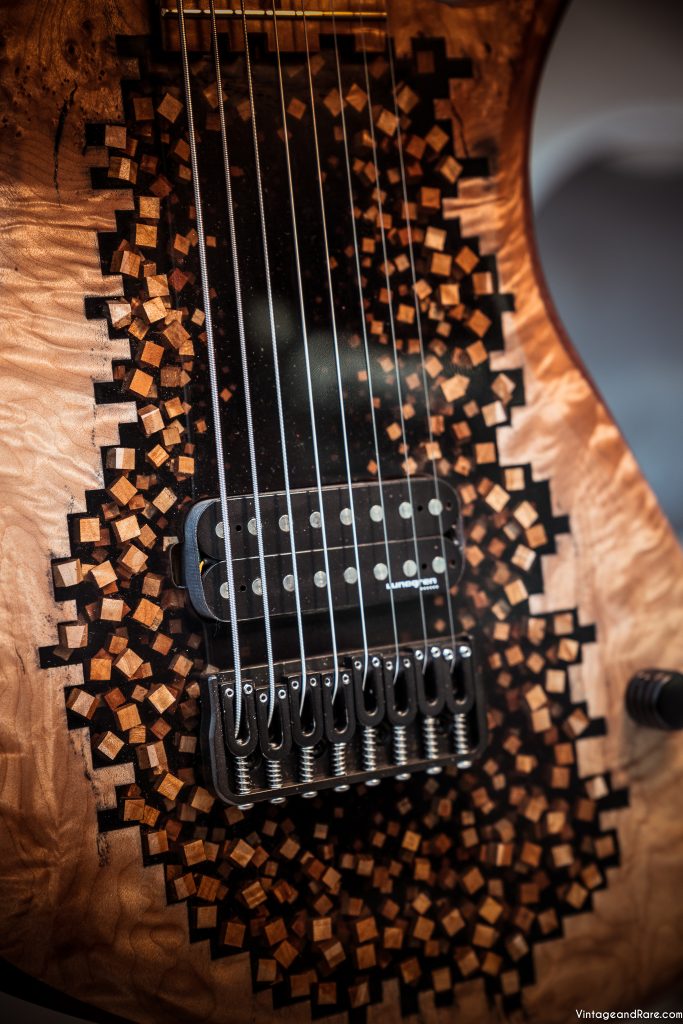
Spalt Instruments

Spalt Instruments

Spalt Instruments

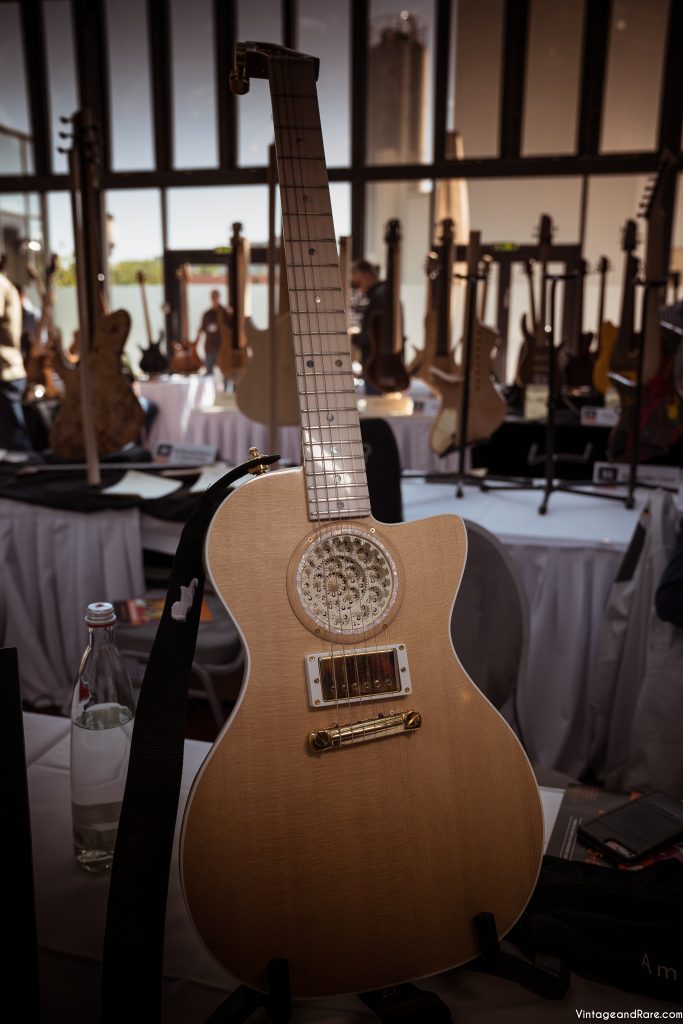
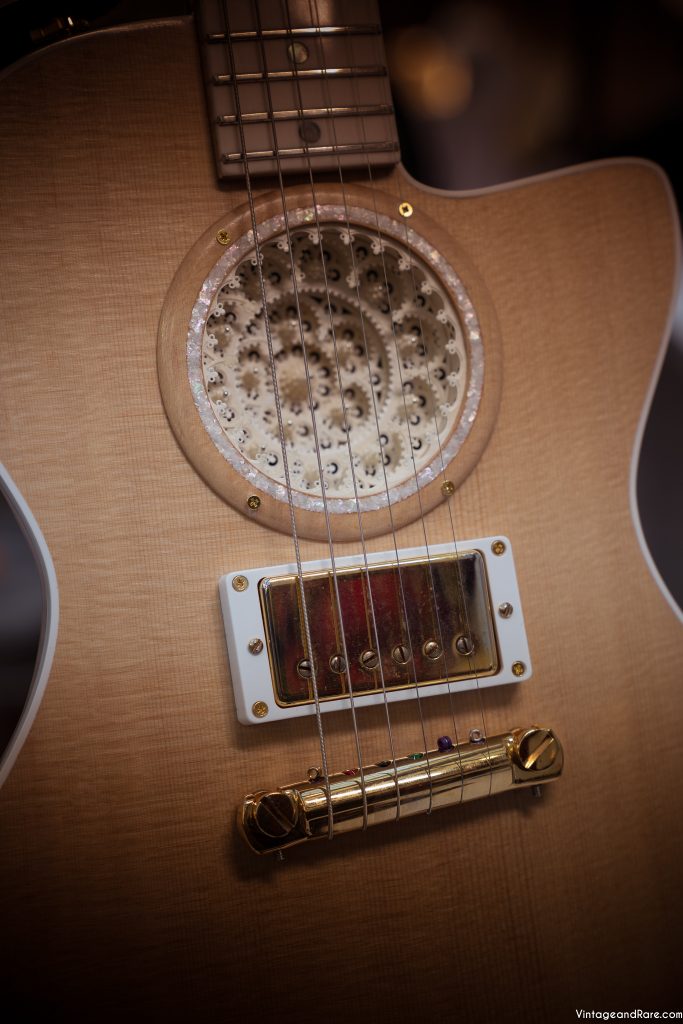
Ruokangas Guitars Emma Maria archtop

Ruokangas Guitars Emma Maria archtop

Ruokangas Guitars Emma Maria archtop

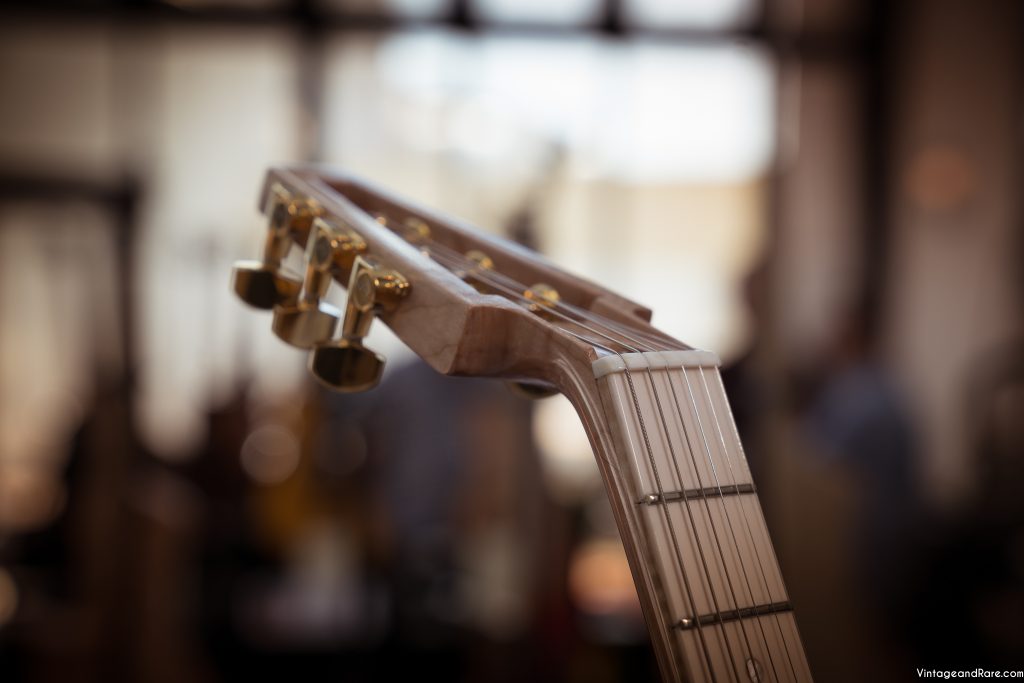
Ruokangas Guitars

Ruokangas Guitars

Ruokangas Guitars

Ruokangas Guitars

Ruokangas Guitars

Ruokangas Guitars

Ruokangas Guitars

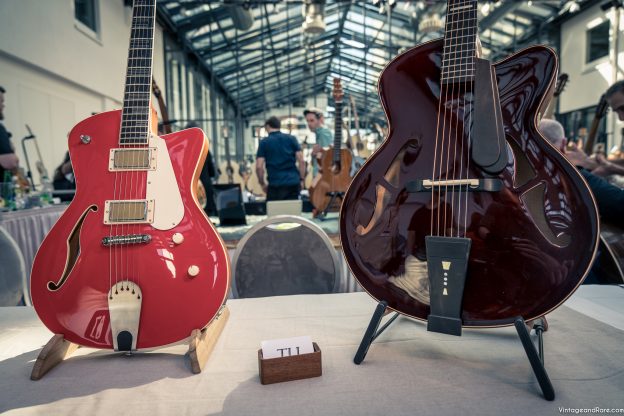
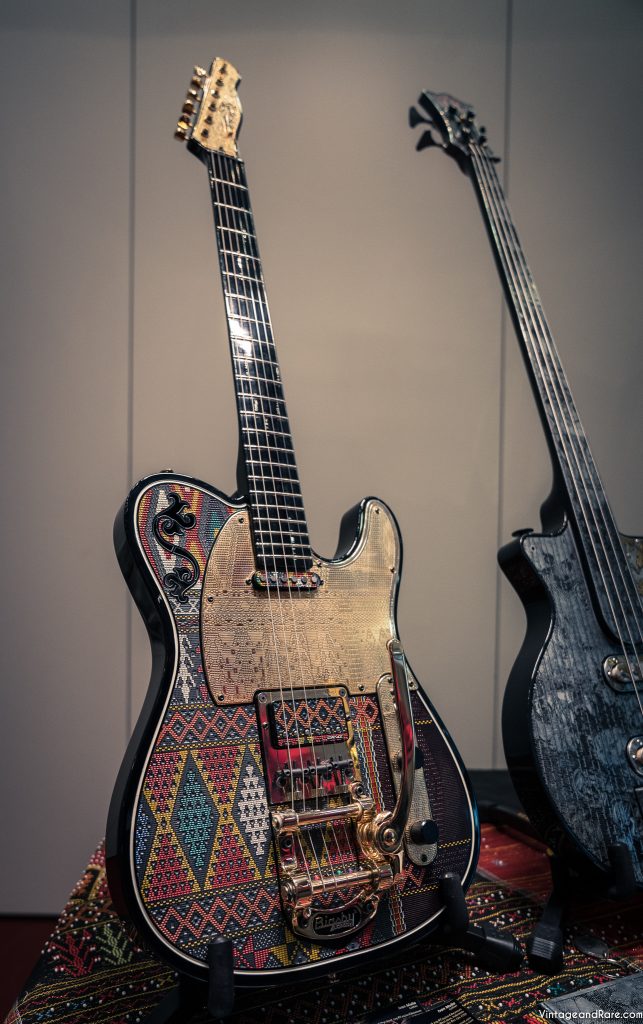
TLL Guitars

TLL Guitars

TLL Guitars

TLL Guitars

TLL Guitars
Ruokangas Guitars Emma Marie archtop

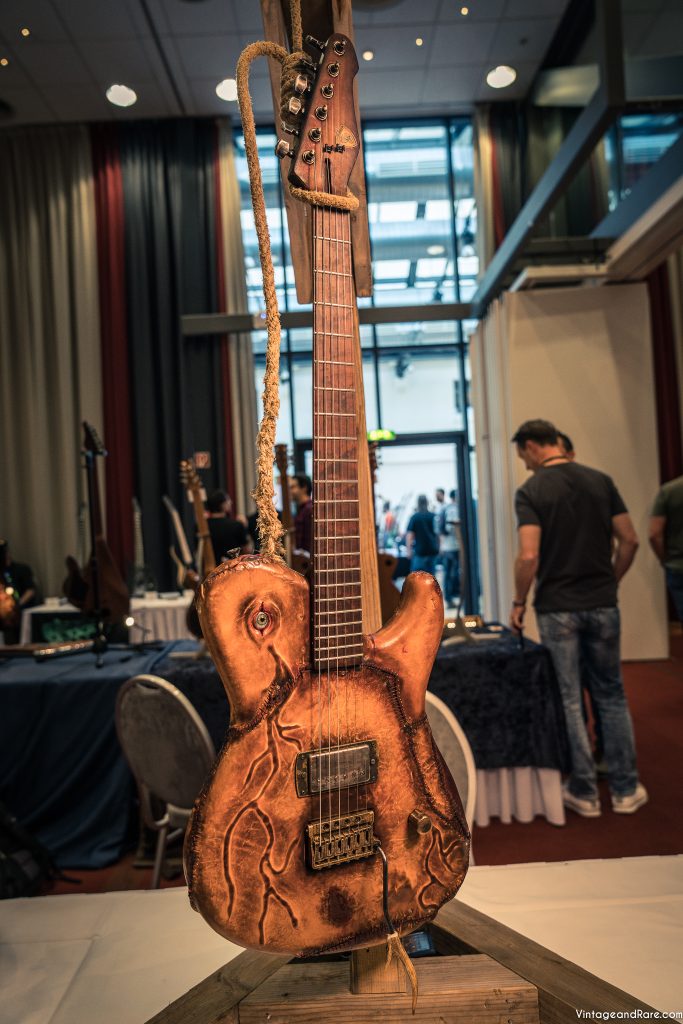
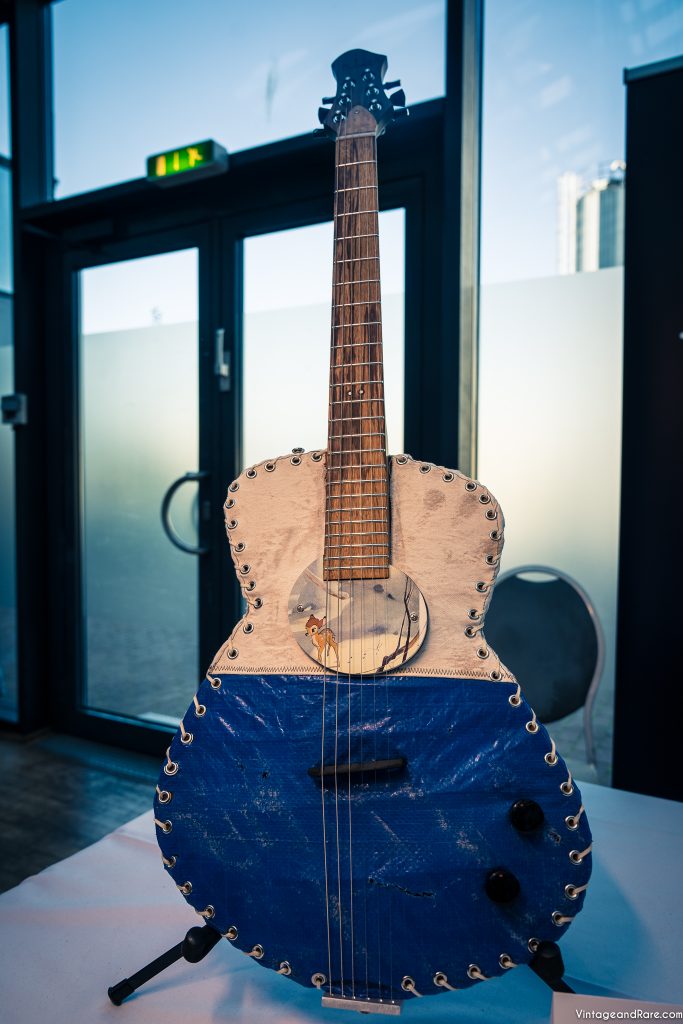
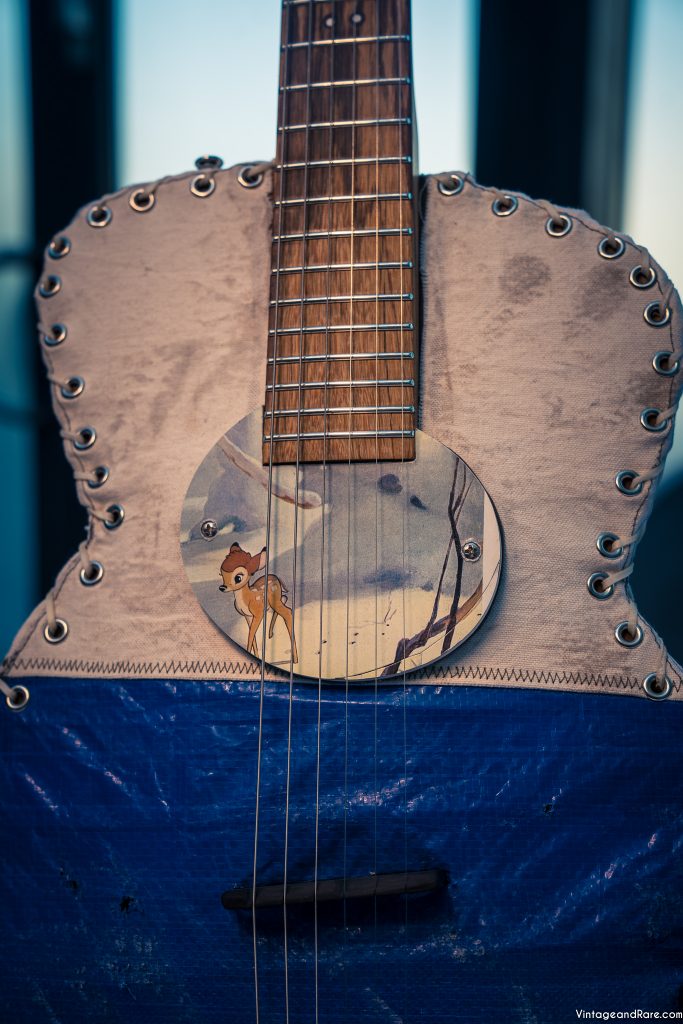
Jersey Girl Homemade Guitars

Jersey Girl Homemade Guitars

Jersey Girl Homemade Guitars

Jersey Girl Homemade Guitars

Jersey Girl Homemade Guitars

Jersey Girl Homemade Guitars

Jersey Girl Homemade Guitars

Jersey Girl Homemade Guitars

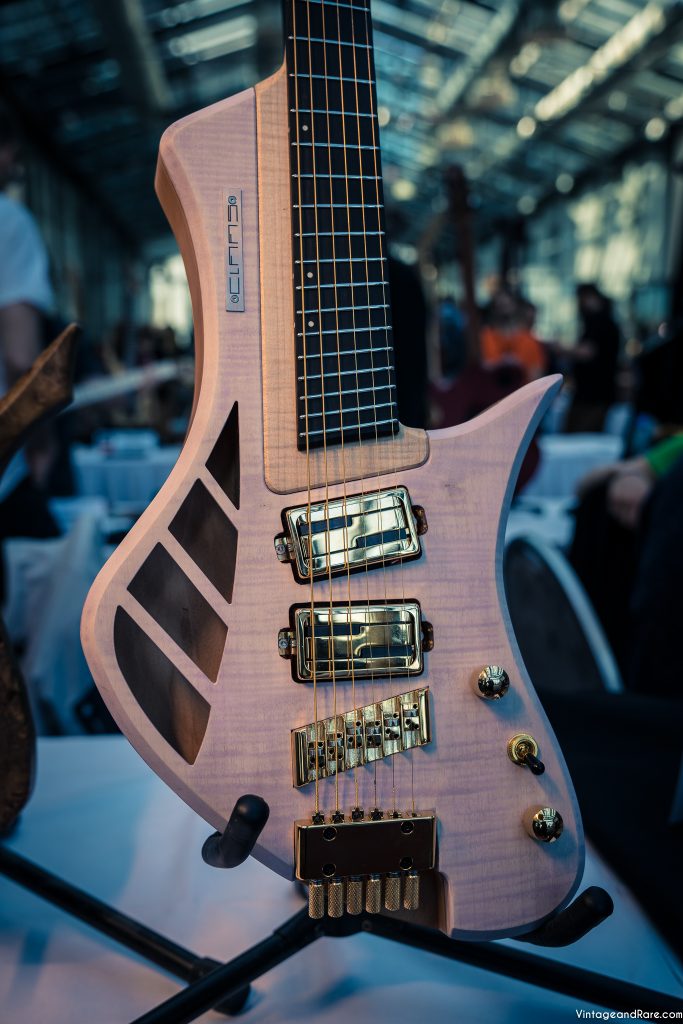
iVee Guitars
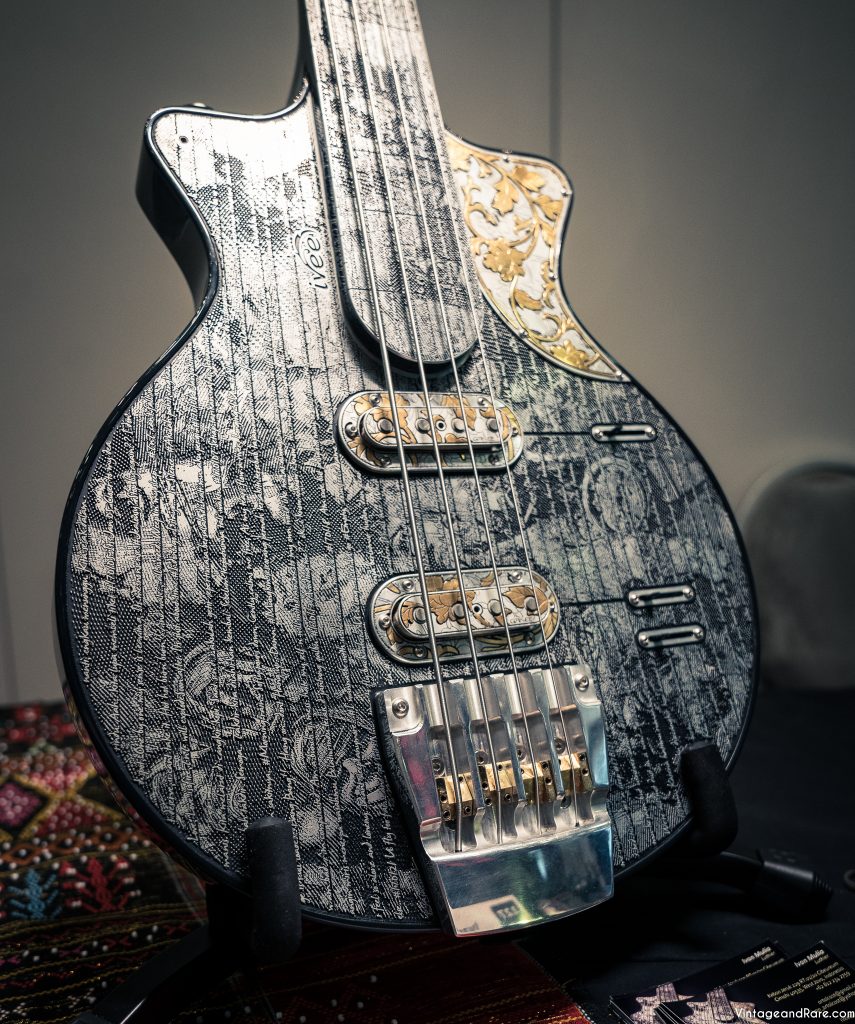
iVee Guitars
iVee Guitars
iVee Guitars
iVee Guitars
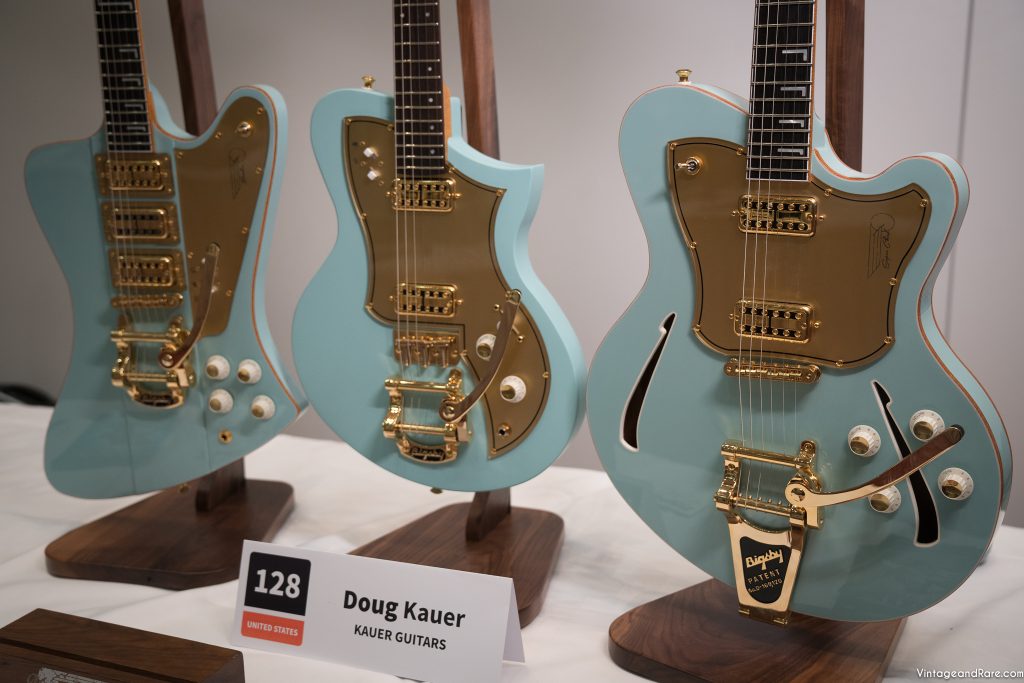
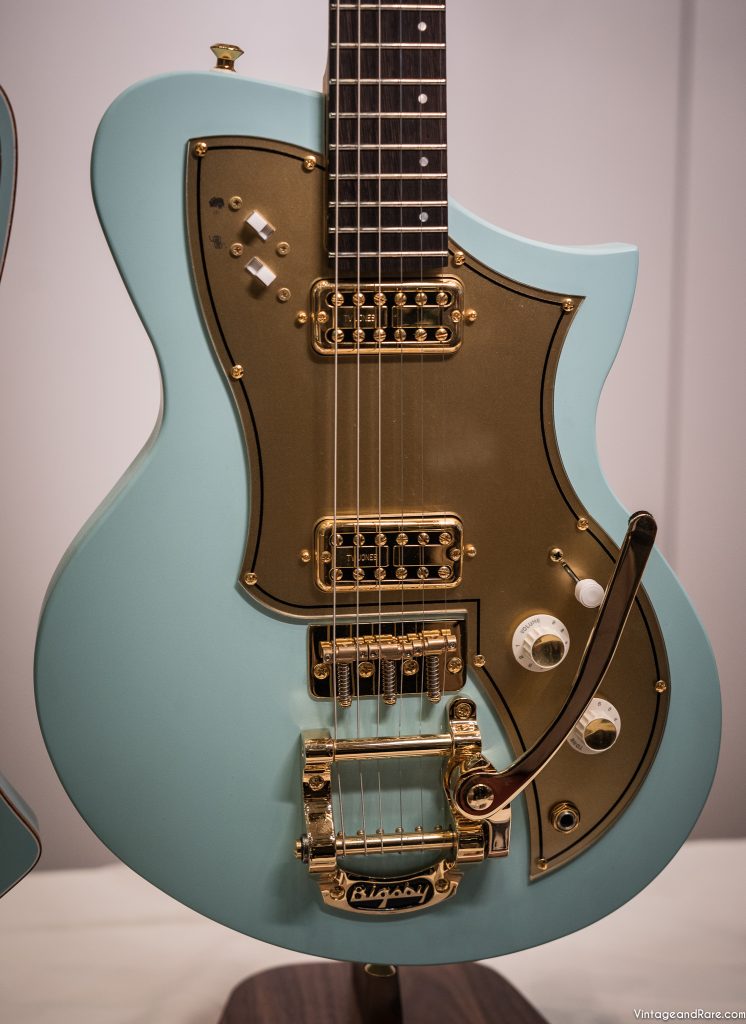
Kauer Guitars
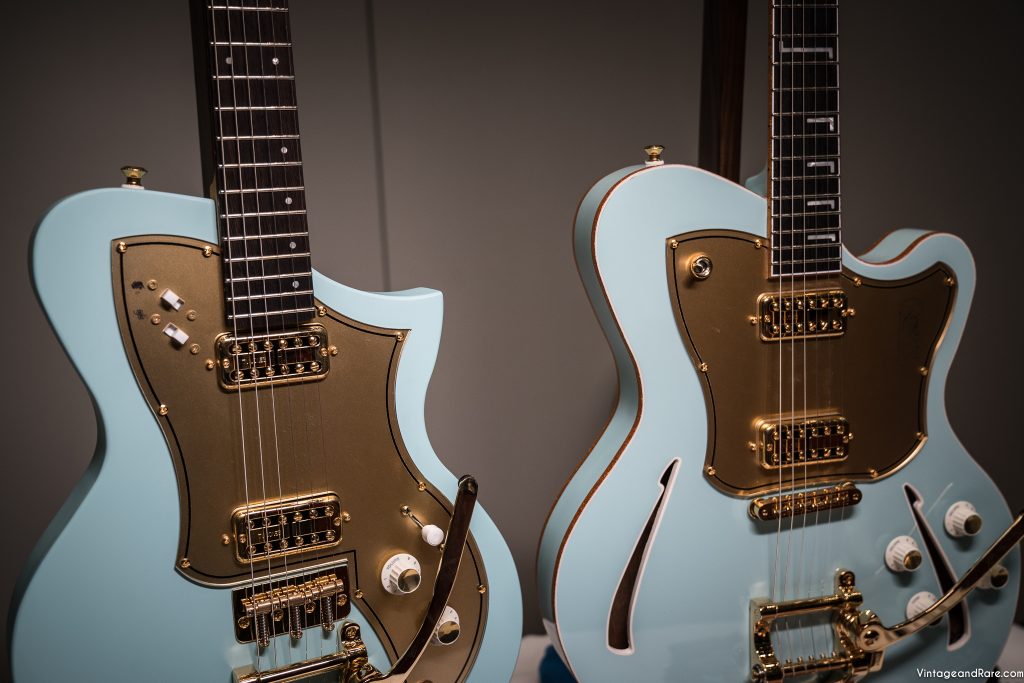
Kauer Guitars
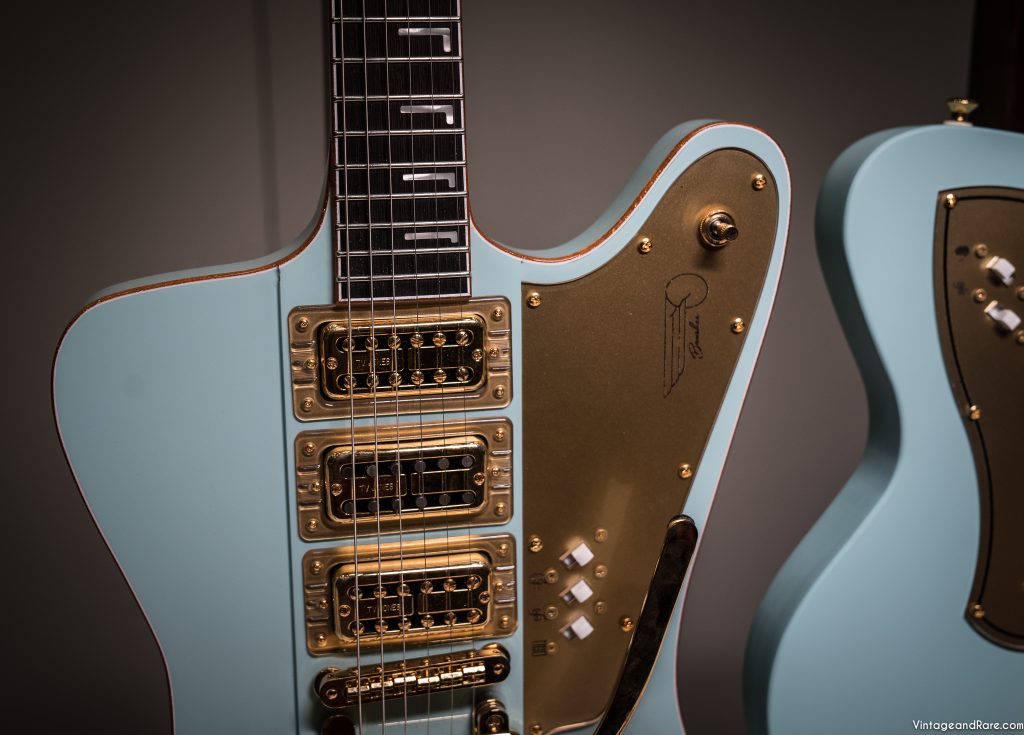
Kauer Guitars
Kauer Guitars
Titan Guitars (Kauer sub brand)
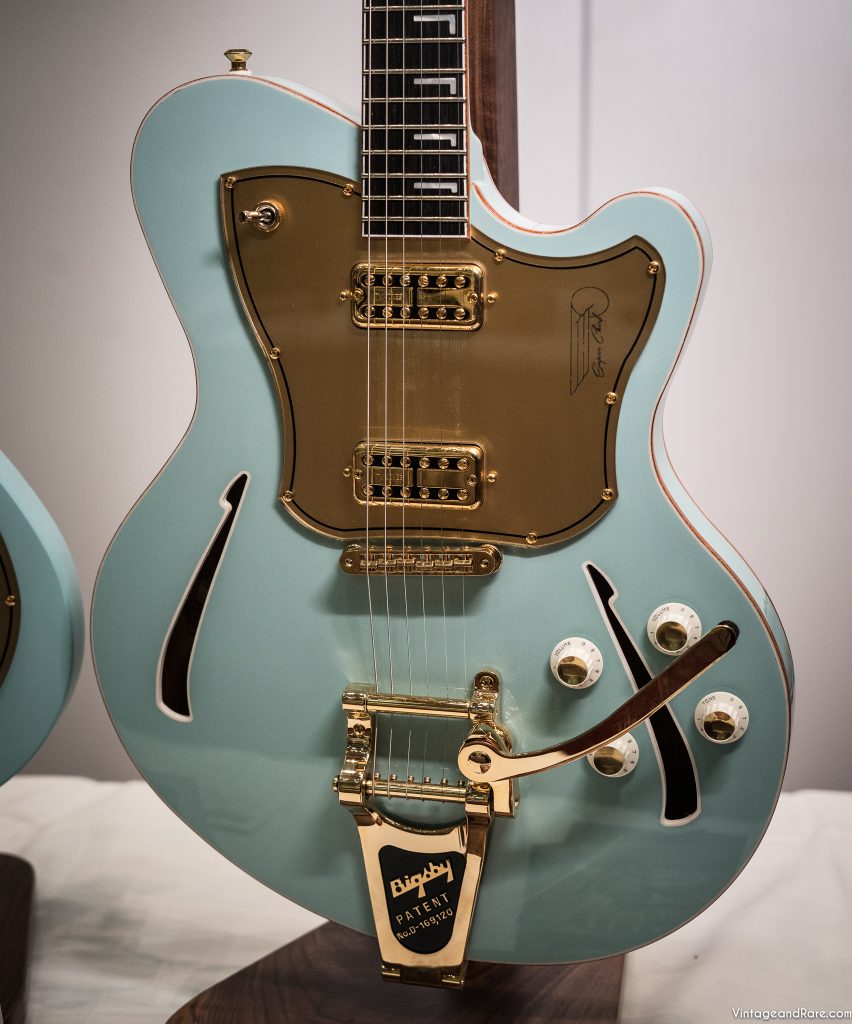
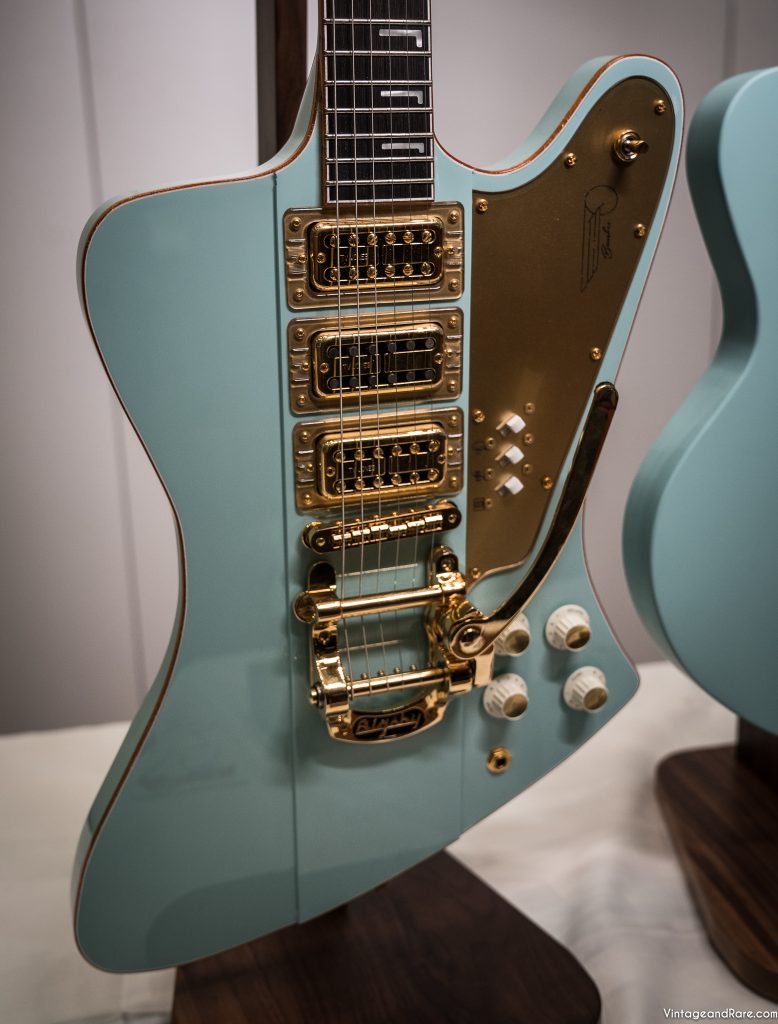
Kauer Guitars Super Chief

Teuffel Guitars
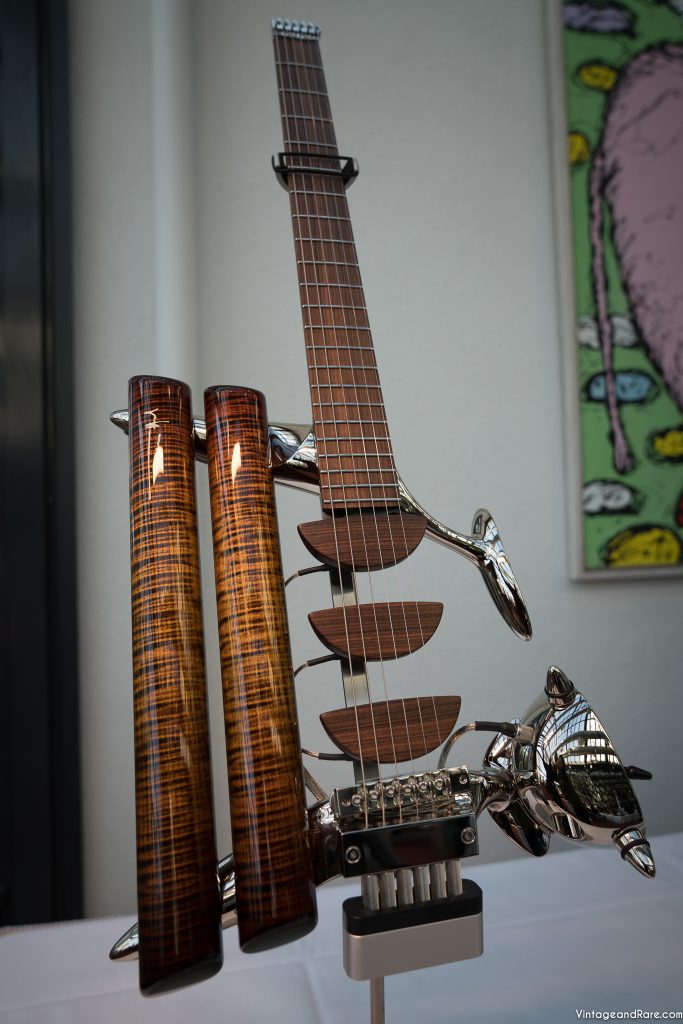
Teuffel Guitars
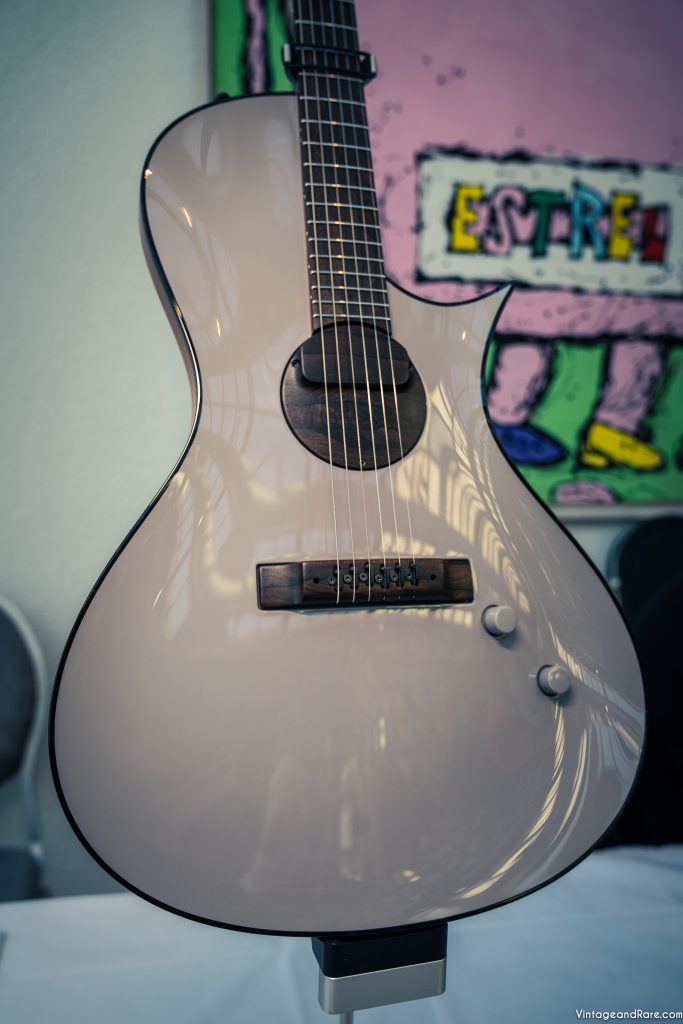
Teuffel Guitars
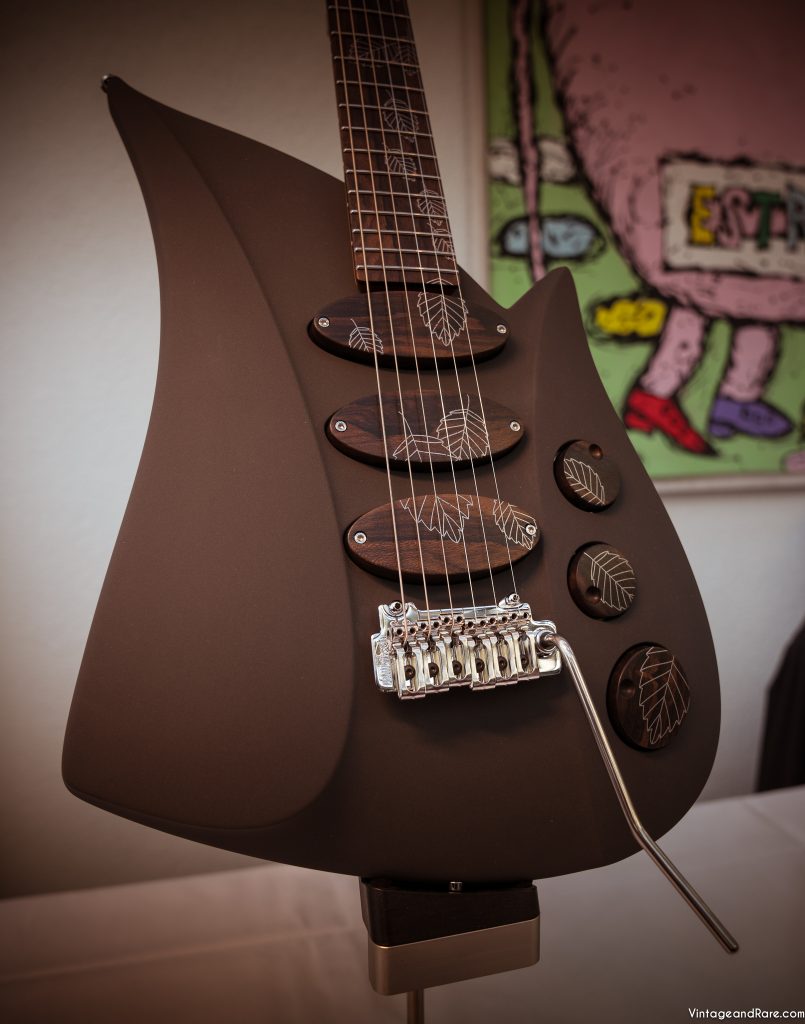
Teuffel Guitars

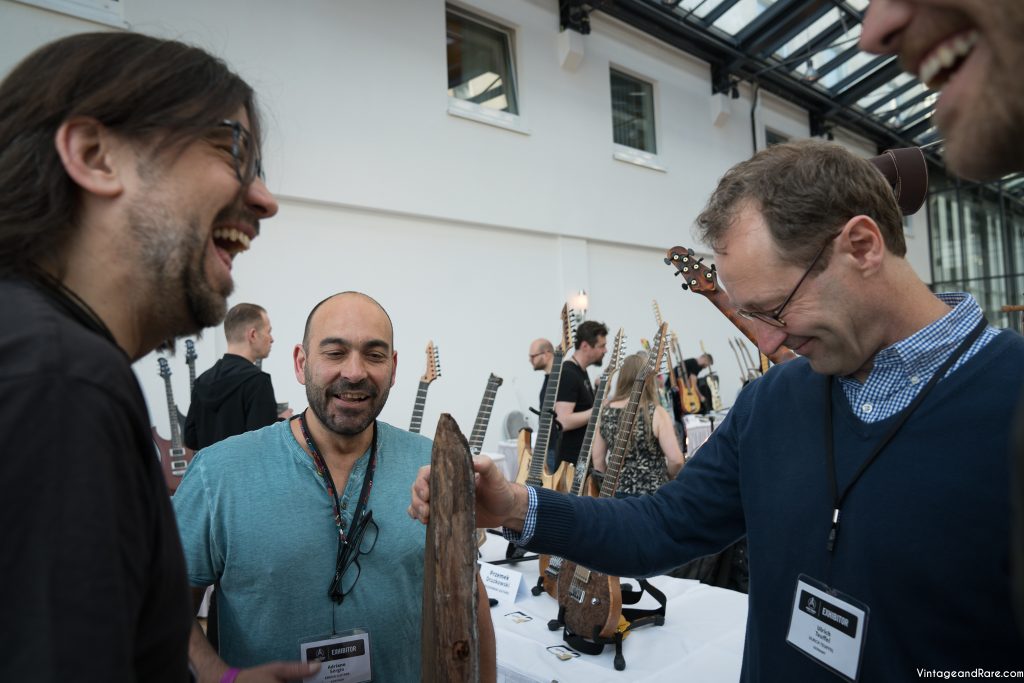
Ezequiel Galasso & Adriano Sergio

Nik Huber, Ulrich Teuffel and Thomas

Thomas guitar demonstrator for Ergon Guitars

Vincent Baills from Vintage & Rare

Ezequiel Galasso and Adriano Sergio

Mad Professor – Ezequiel Galasso 🙂

Kari Nieminen / Versoul Guitars

Saku Vuoren from Vuorensaku Guitars

Thorsten Hans from Hans Guitars

Red Layer Guitars
Red Layer Guitars
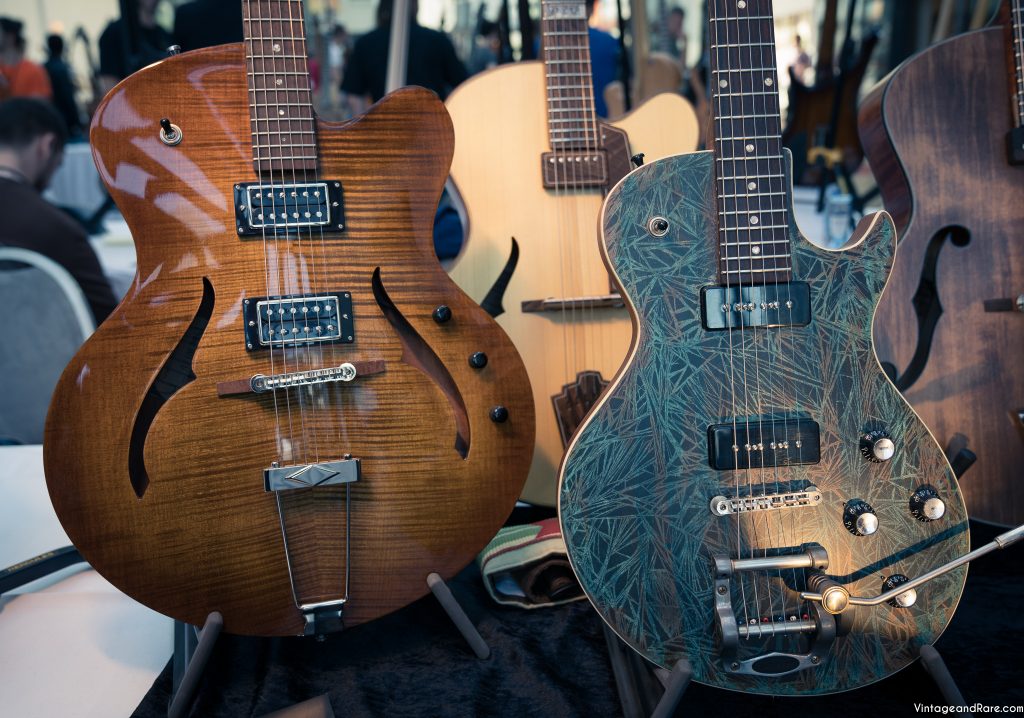
H Guitars
H Guitars
H Guitars
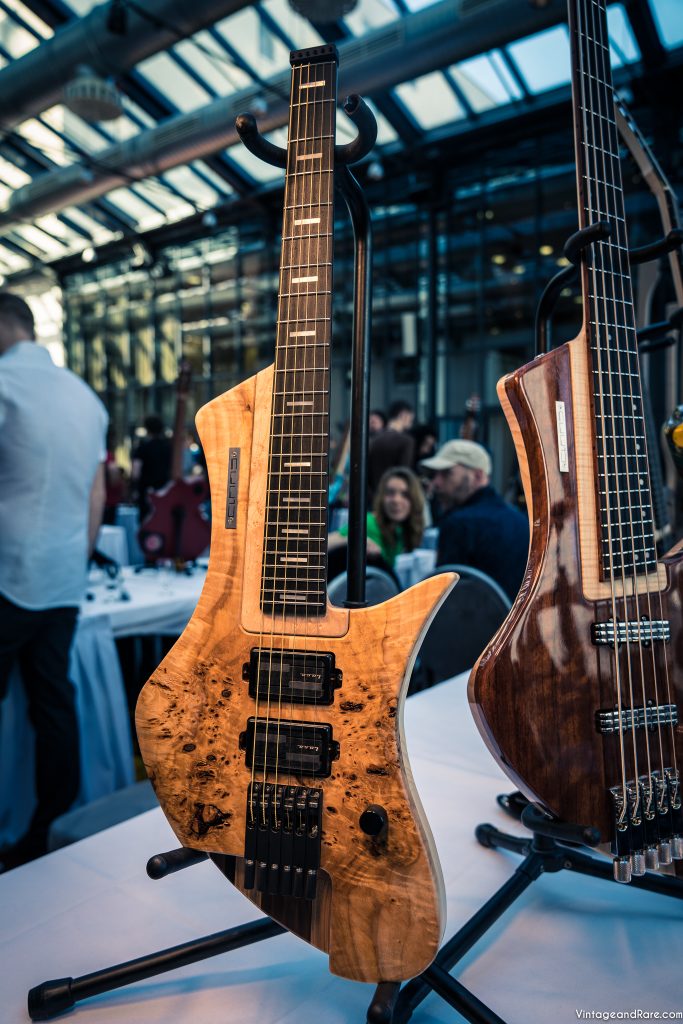
Bassart Guitars
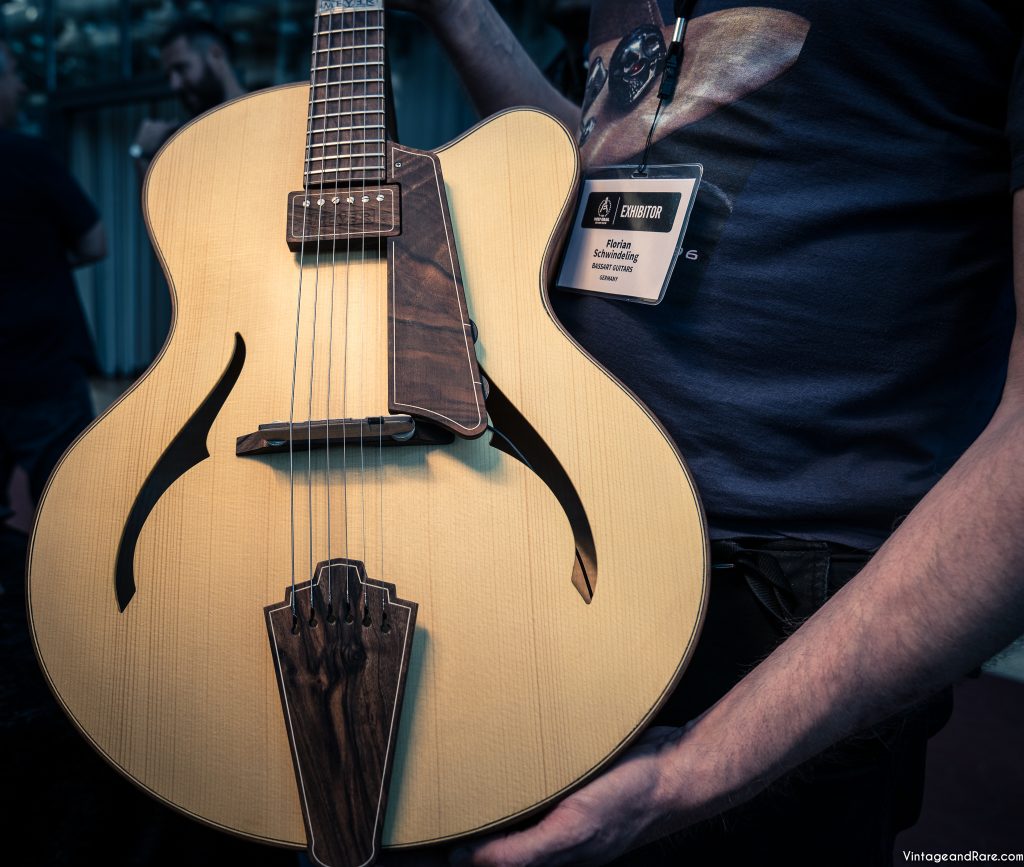
Bassart Guitars
Bassart Guitars
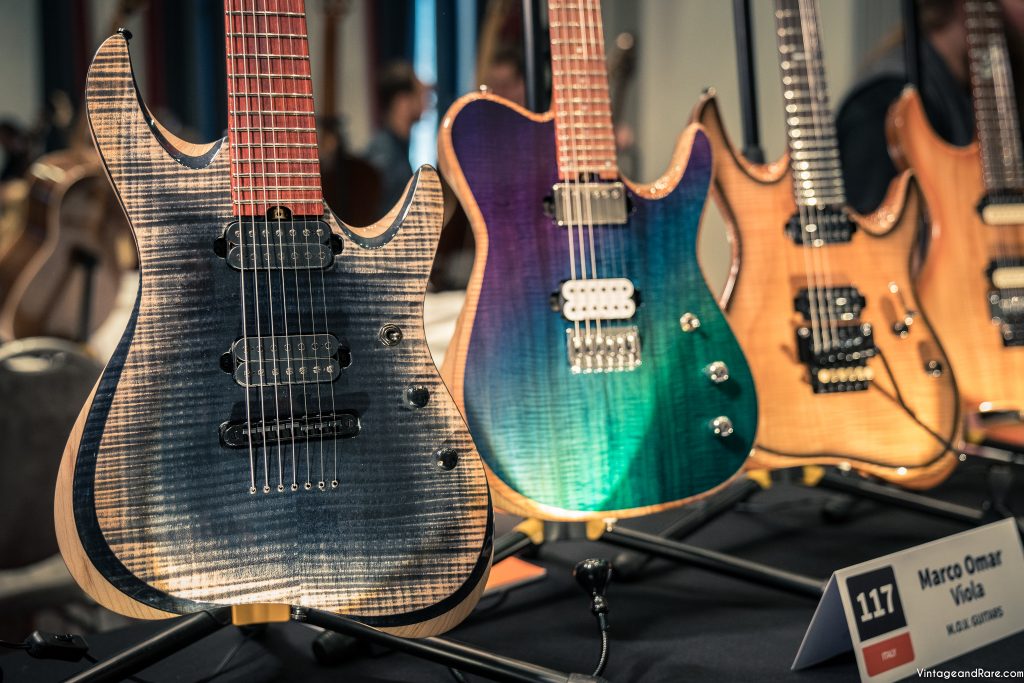
M.O.V. Guitars

M-tone Handmade Guitars

Lutherie Gervais
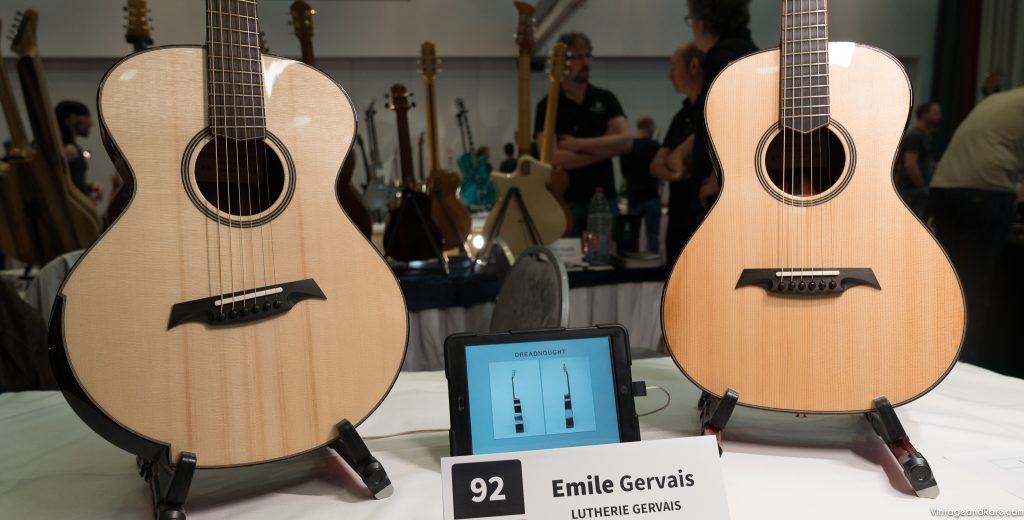
Lutherie Gervais
Lutherie Gervais
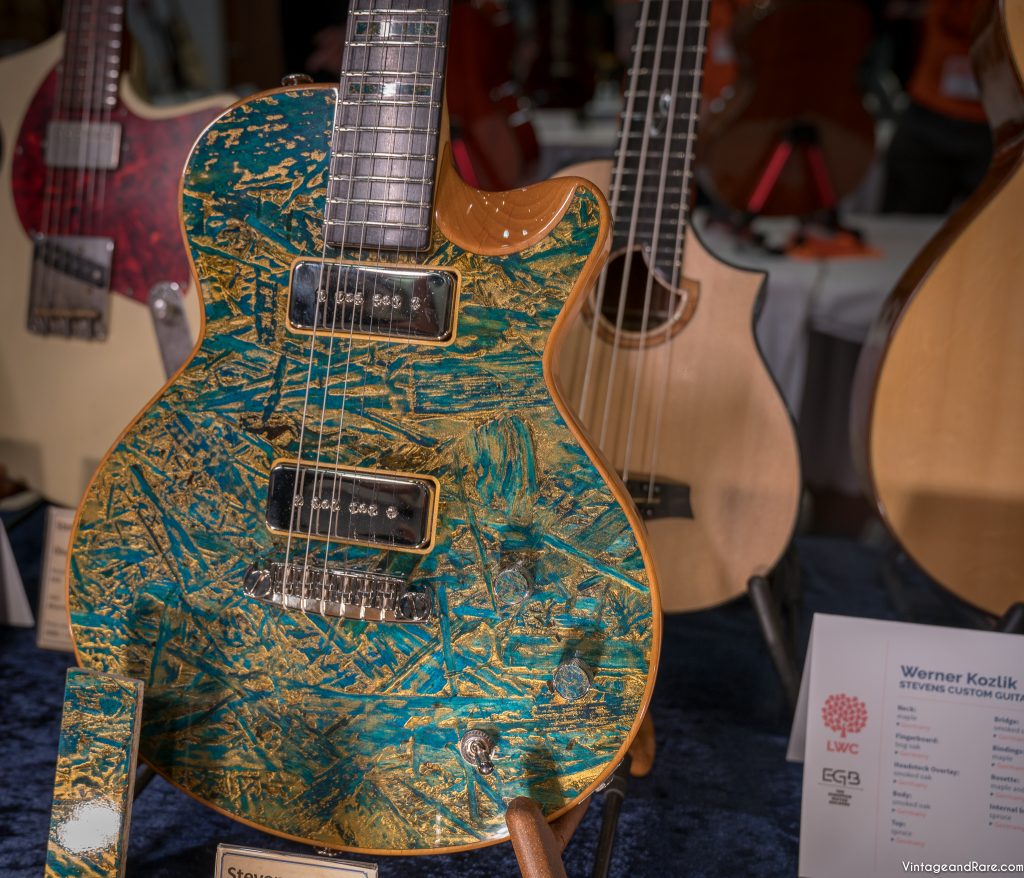
Stevens Custom Guitars Kozlik & Zirnbauer
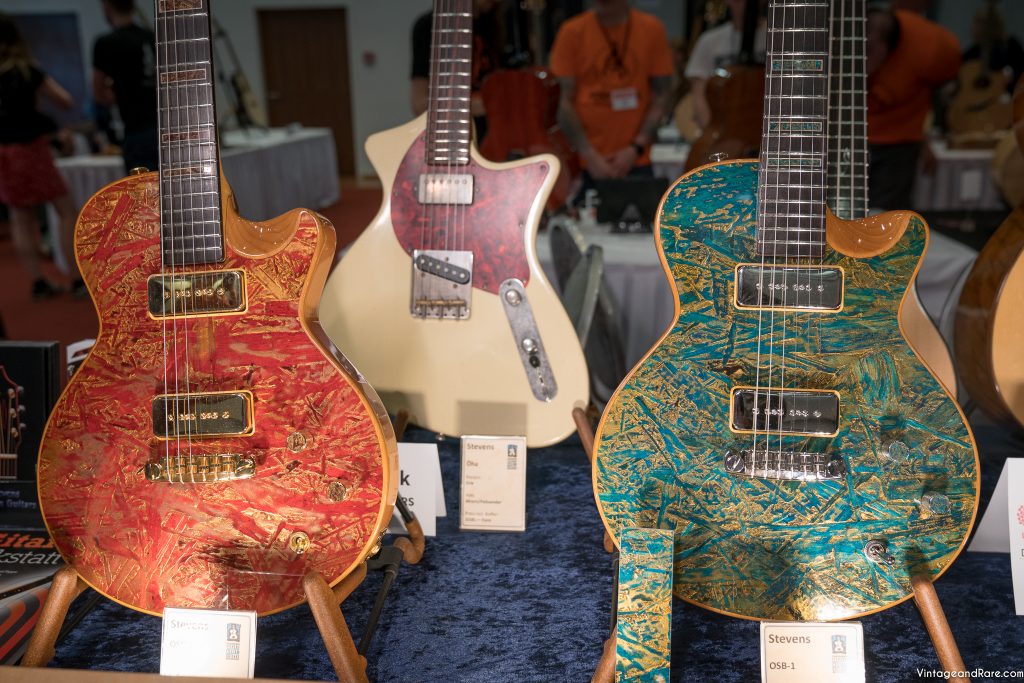
Stevens Custom Guitars Kozlik & Zirnbauer
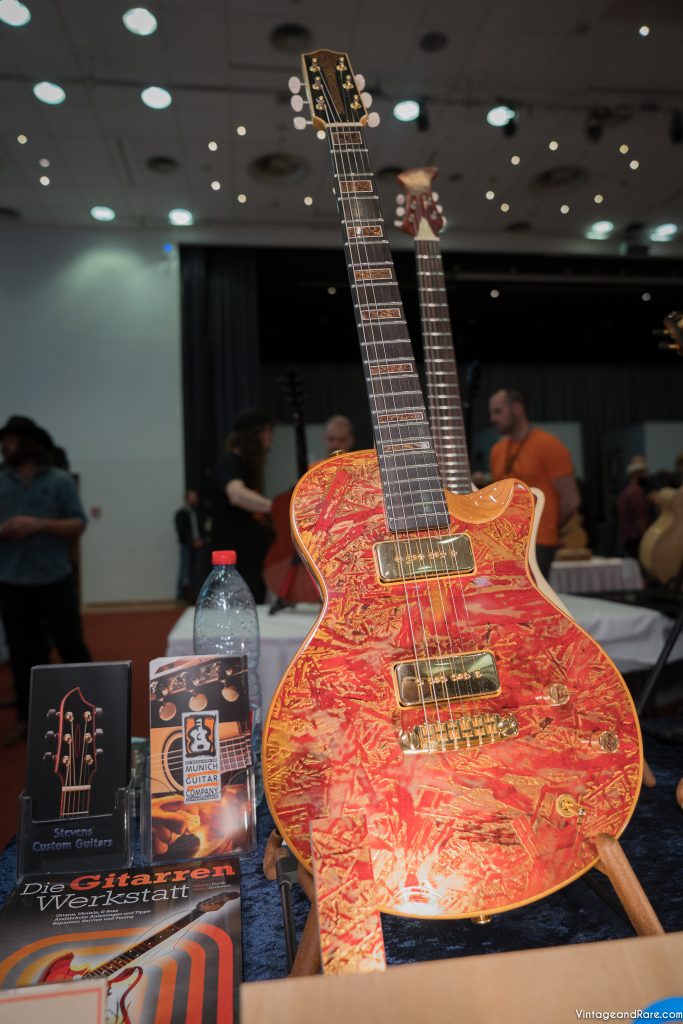
Stevens Custom Guitars Kozlik & Zirnbauer
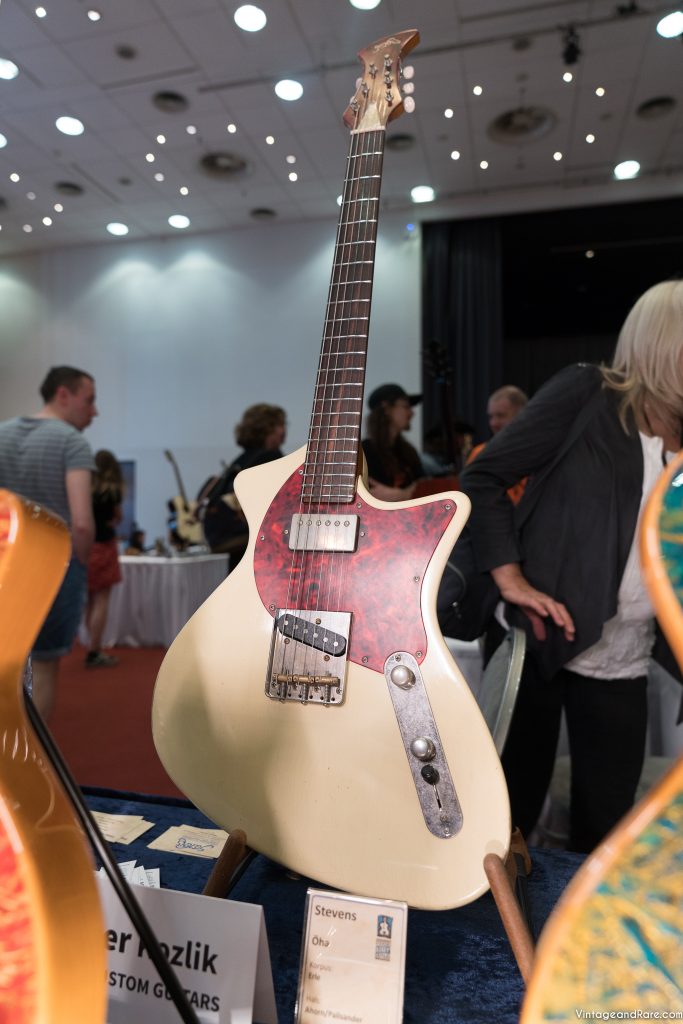
Stevens Custom Guitars Kozlik & Zirnbauer
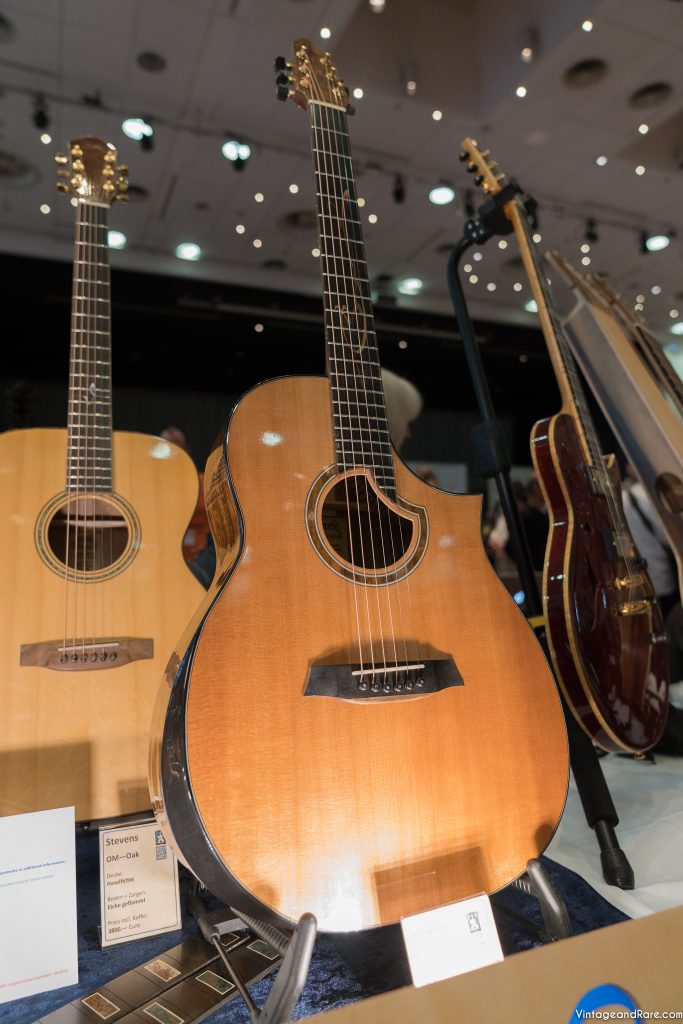
Stevens Custom Guitars Kozlik & Zirnbauer

Fant Guitars
Fant Guitars
Fant Guitars
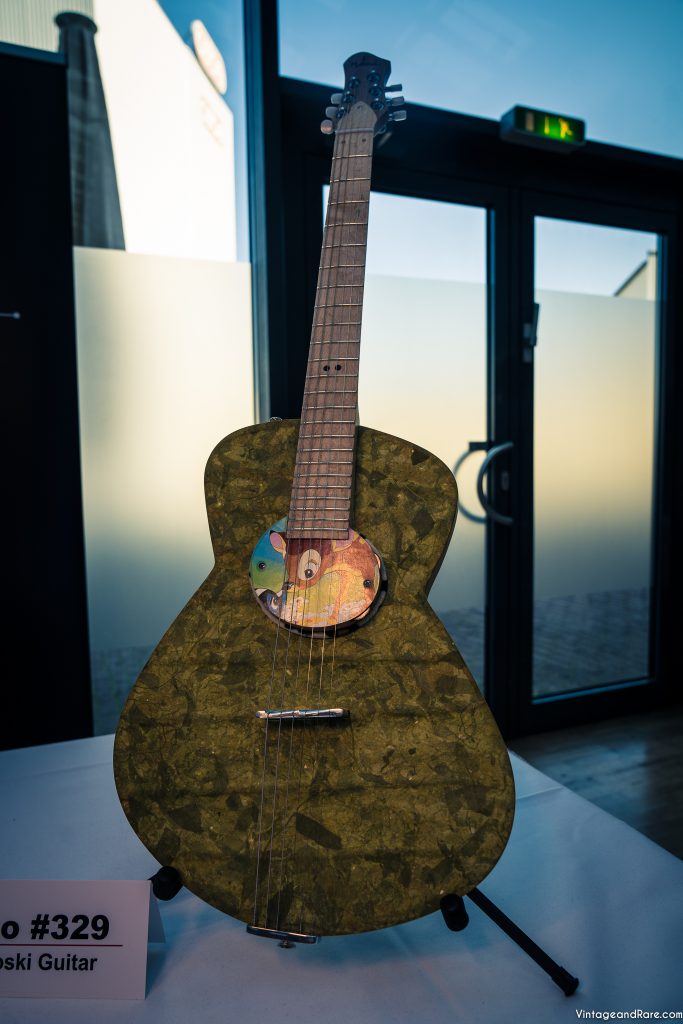
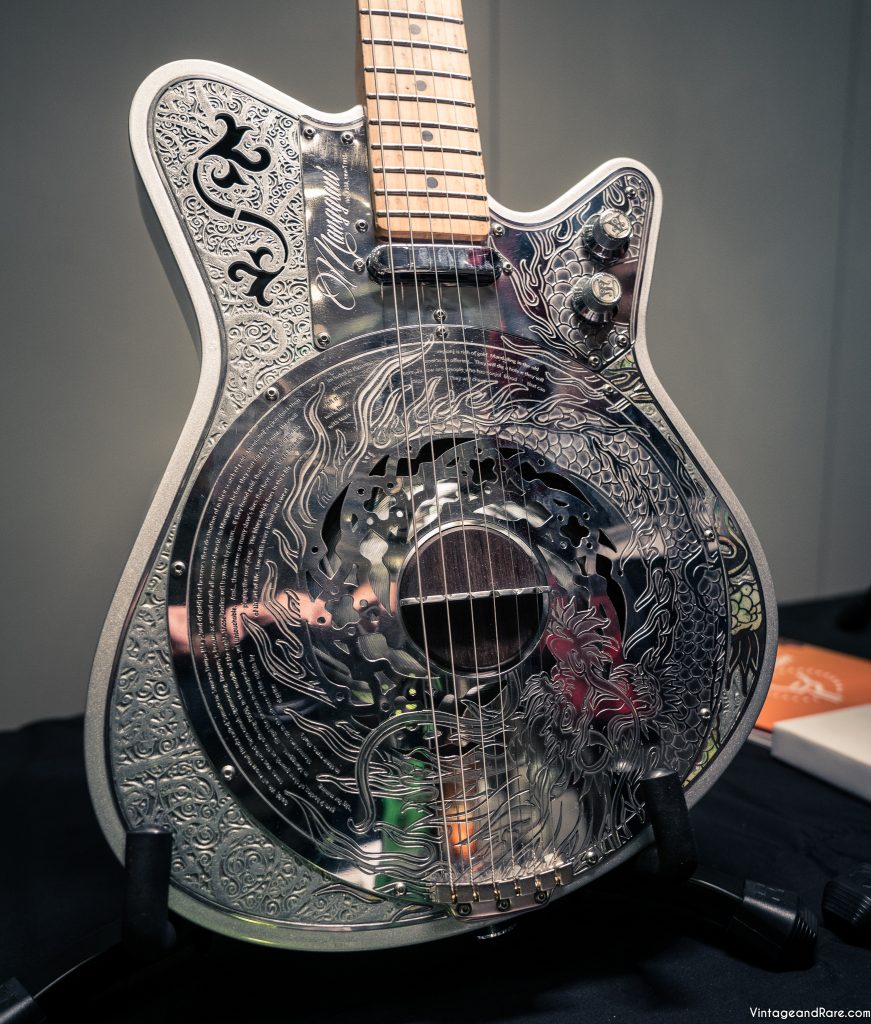
Malinoski Guitars

Malinoski Guitars
Malinoski Guitars
Malinoski Guitars

Claas Guitars / Alexander Claas
Claas Guitars / Alexander Claas
Claas Guitars / Alexander Claas
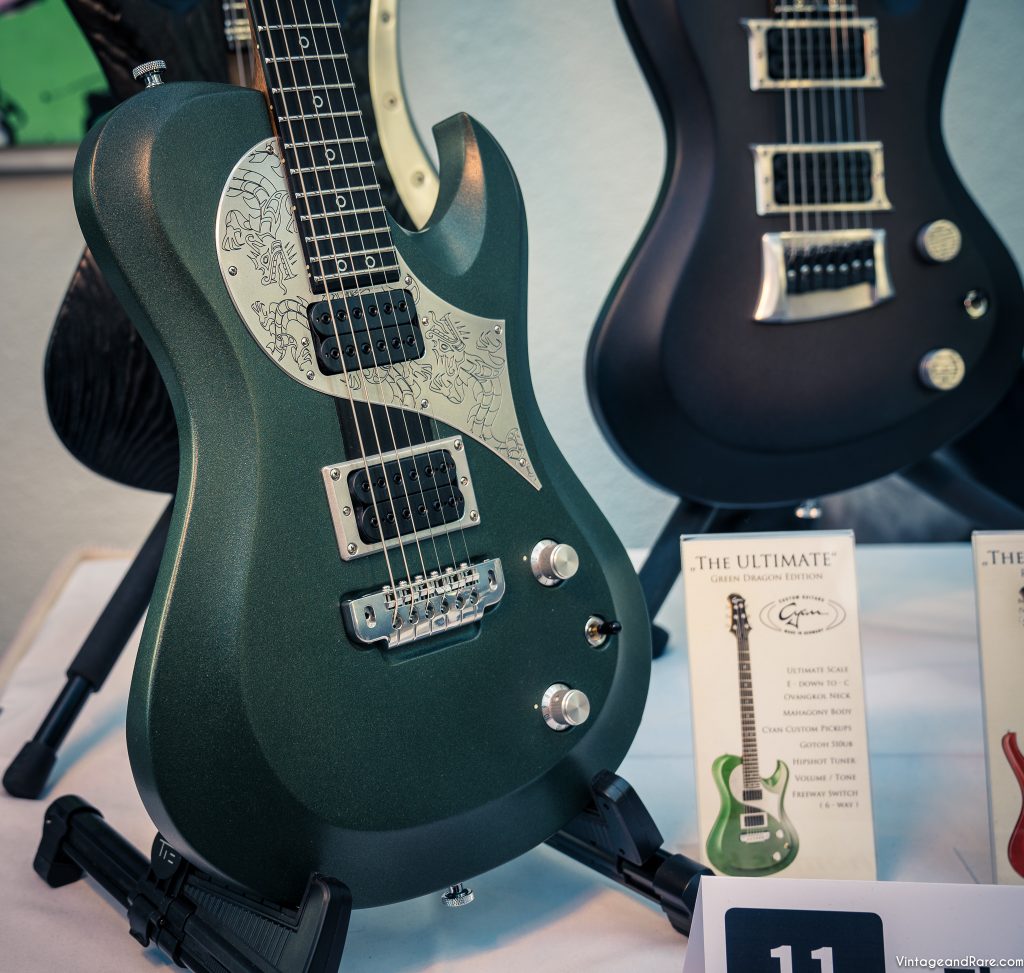
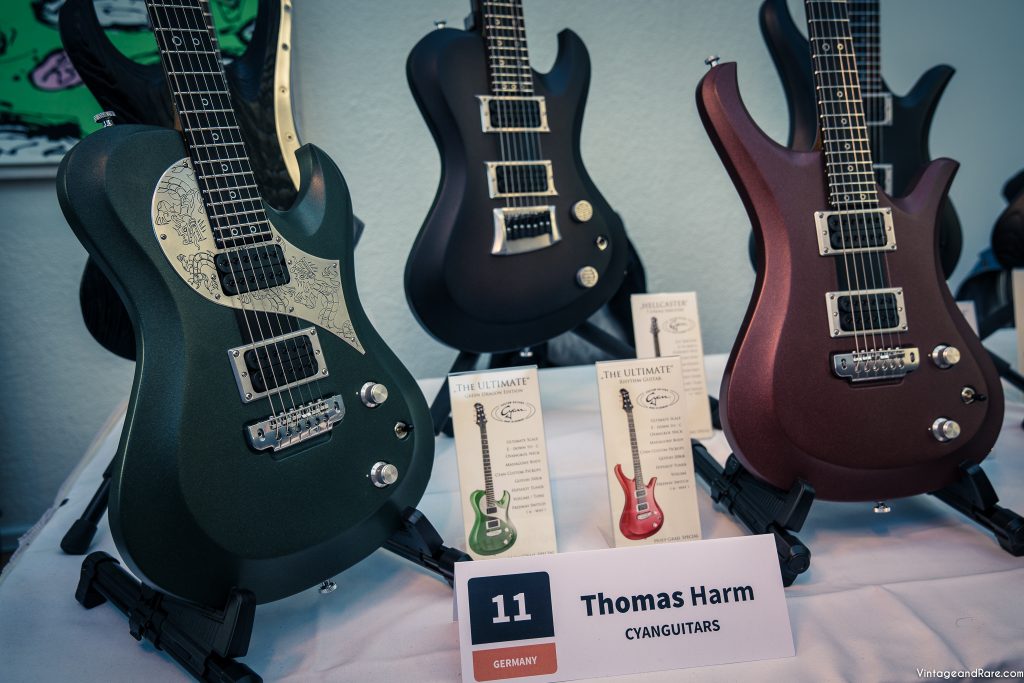
Cyanguitars
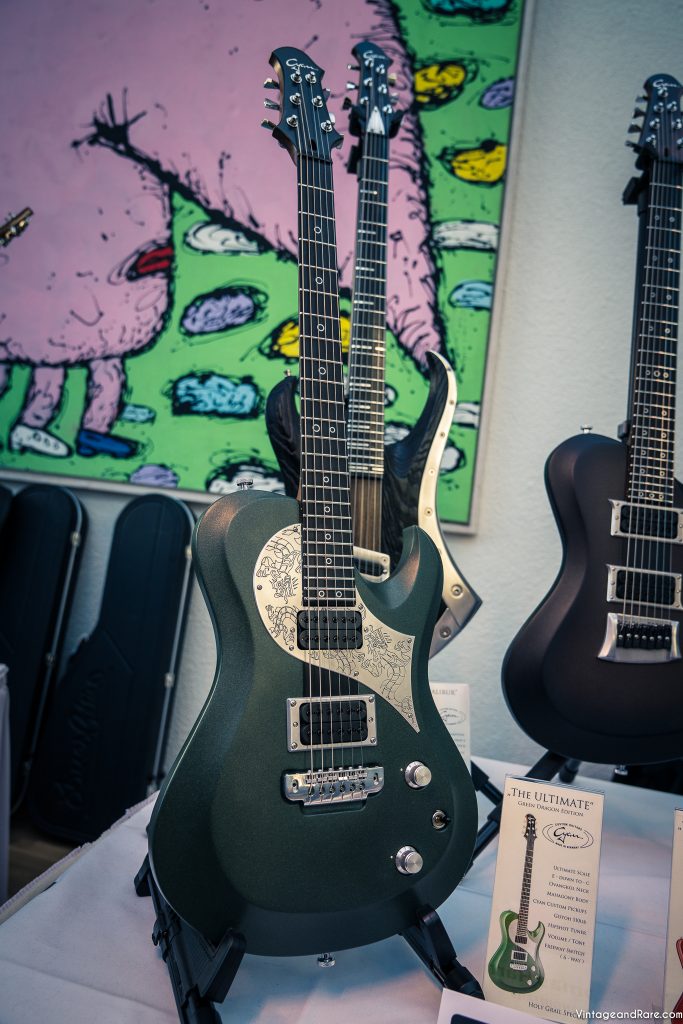
Cyanguitars
Jamie Gale, curator of Boutique Guitar Showcase, presenting a few of the luthiers from BGS on NAMM Show 2018. In this video you will see instruments from world class instrument builders such as Di Donato Guitars, Ergon Guitars, Spalt Instruments, Noah Guitars, Frank Hartung Guitars, GNG Guitars, Kauer Guitars, Maegan Wells, Tausch Guitars, Sankey Guitars, Oni Guitars, iVee Guitars, Wide Sky Guitars, Lame Horse Instruments, McSwain Guitars

On the 15th of oct. 2017 Vintage & Rare hosted the Boutique Showcase in Copenhagen. The event was held in Vibe Factory Recording Studios with unique and fine handmade instruments on display from Di Donato Guitars, Donovan Leah Guitars, Ergon Guitars, James Trussart Guitars, Kauer Guitars, Klein Community, Marleaux BassGuitars, McSwain Guitars, MOVGuitars, Sankey Guitars, Spalt Instruments, Tausch Electric Guitars, Teye Guitars, Wild Customs, Deimel Guitarworks, Diego Vila Guitarras y, Bajos Custom, Turnstone Guitar Company, AC Guitars, Leo Guitars.
Hope to see you again next year when we roll out a new guitarshow in Copenhagen with unique and handmade guitars.
Below is a gallery of pictures from the show.
Jamie Gale has curated an incredible collection of unique hand crafted guitars from top makers around the globe and brought them on tour in the US and Europe.
If you’re in Copenhagen on Sunday, don’t miss the opportunity to see, try and acquire a one of a kind, boutique instruments on this one night event.
Get a sneak peak of some of the guitars below.
Free entrance!
IS GIBSON IN TROUBLE?
So lately this has been quite a discussed subject. Are Gibson not doing well? A lot of people seem to be talking about certain financial difficulties on Gibson’s end. Is this the case? Today we´re having a look at the situation and some key aspects that may have something to do with it.
CITES TRADE REGULATIONS OVER ROSEWOOD
A lot of people have been asking us about the CITES regulations on Rosewood and certain types of Bubinga, as well as what this means for them, so we decided to write a bit about the subject.
SO… WHAT IS CITES?
CITES stands for Convention on International Trade in Endangered Species of Wild Fauna and Flora, which is essentially a treaty to protect endangered species (plants and animals).
Here is a demo of the Wizard Overdrive from swedish boutique-builder Olsson Amps.
Check out V&R demonstrator, Henrik Berger, taking this great and versatile overdrive pedal for a test drive.
Buy the Wizard Overdrive directly from Olsson Amps on V&R here
Connect with Vintage And Rare.
Sign up for news from vintageandrare, get special featured product offers, industry insights and find vintage instruments.
Sign up now!
Our mission is to establish and develop the ultimate network/community designed for enthusiasts and retailers of vintage, rare and antique musical instruments, as well as an online network for dedicated builders of fine instruments.
Sign up for mypage
Get your own account. Put your favorites instruments on your watch list. Offer your instruments to dealers and builders on VintageAndRare.
See our blog
Stay tuned for exciting news, interviews, great stories and beautiful instruments on the VintageAndRare blog.
Search for instruments
Sell instruments through VintageAndRare
Why sell through VintageAndRare?
In essence we are a gateway to vintage, rare and hand & custom built musical equipment, an easy-to-use tool and internet resource for dealers, builders, buyers and enthusiasts.
Become a partner
Gain access to our Dealers Collective and interact with other members of V&R. Doing business with your colleagues has never been easier.
Free signup service
Pick a subscription plan and sign up in 60 seconds. Upgrade, downgrade, cancel at any time.
Free trial